

ShotCaller Quick Start
Use this walkthrough when you are setting up a ShotCaller kit for the first time. Follow the steps in order so the app, hub, target, Range view, and session review are all ready before your first string of fire.
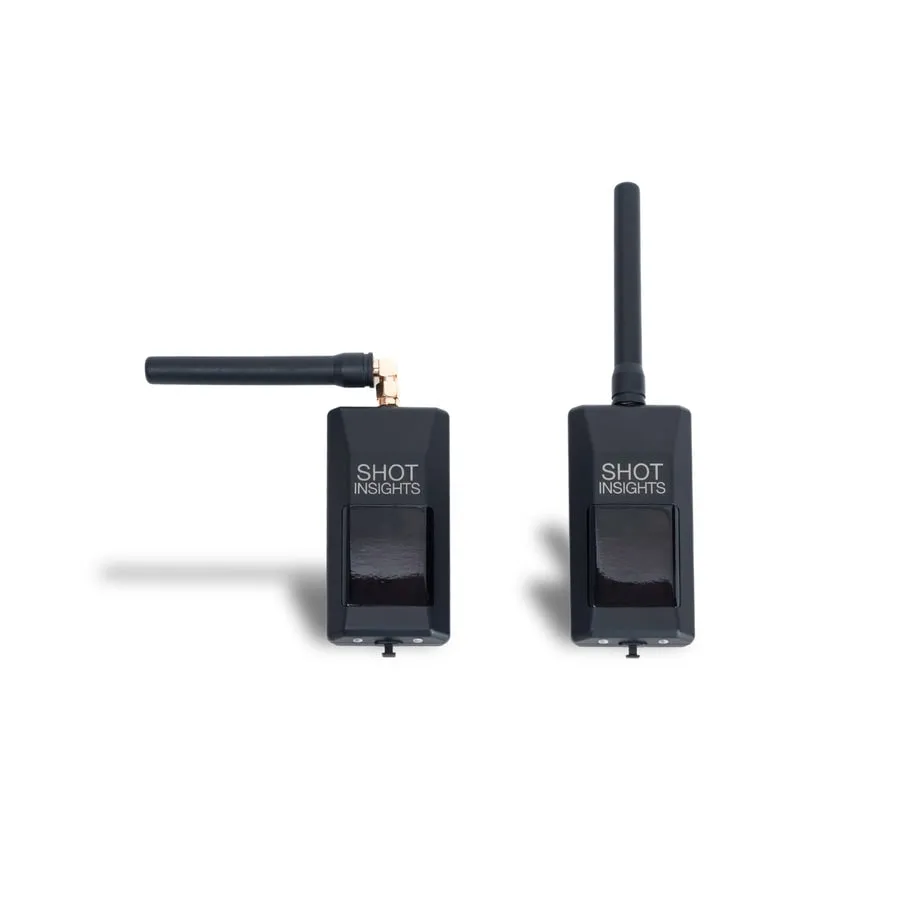
1. Download the app
Section titled “1. Download the app”Install Shot Insights on your phone, then open the app. The short download link is dl.shotinsights.com.
Before you move to the hardware, make sure Bluetooth and Location permissions are allowed. ShotCaller needs Bluetooth to connect to the hub and Location to unlock distance-aware range features.
If you denied a permission earlier, turn it back on with Permissions and Location.
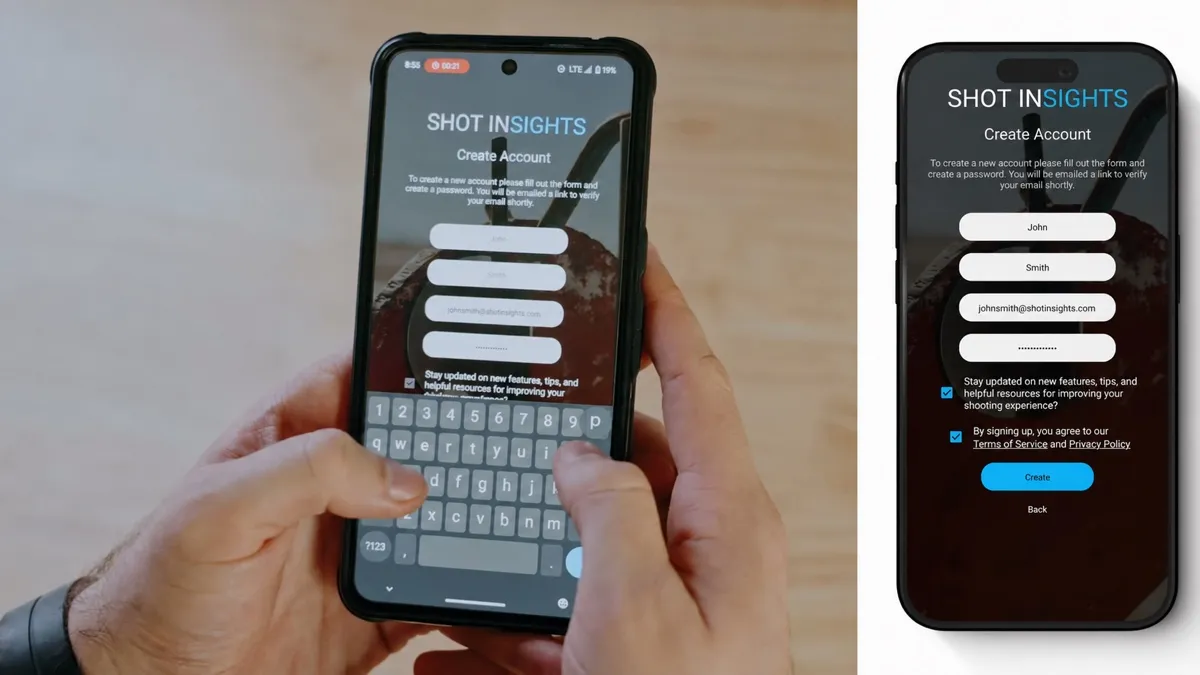
2. Create your account
Section titled “2. Create your account”Create a Shot Insights account before pairing devices. Your sessions, ballistic profiles, and adopted ShotCaller devices are tied to your account so you can use them from another phone or tablet later.
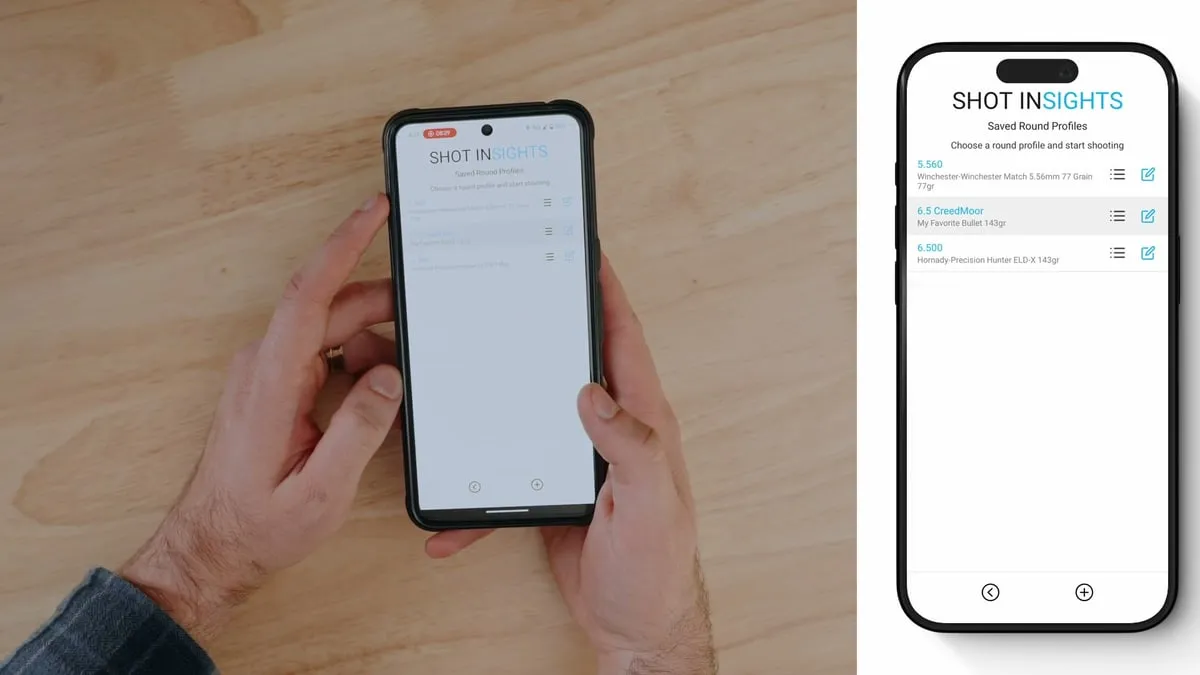
3. Create a ballistic profile
Section titled “3. Create a ballistic profile”Create a ballistic profile before your first ShotCaller session. Enter the rifle, ammunition, zero, optic, and environment details you want to use for holds.
That same profile can also be used in QuickSight before you have ShotCaller hardware connected. If you have not built one yet, start with your first ballistic profile or create one from the Bullet Library.
4. Attach the target mount
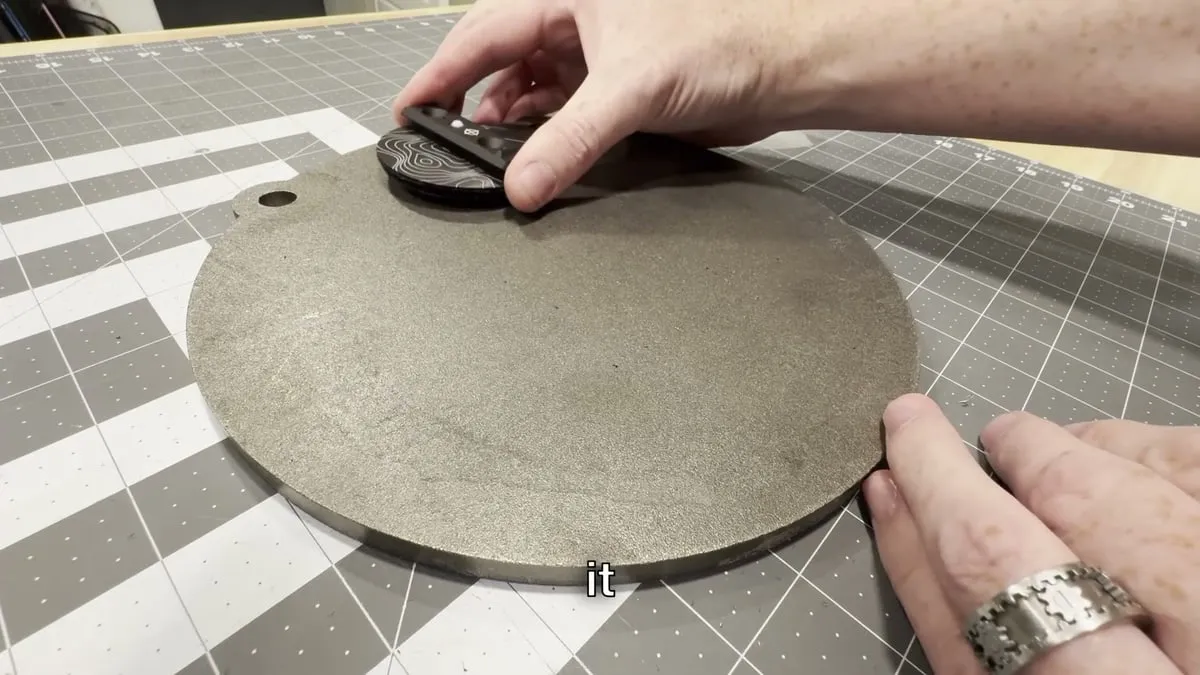
Section titled “4. Attach the target mount”Attach the supplied target mount to your steel in a spot that keeps the target device protected from direct impacts. Check the path the steel takes when it swings so the device will not contact the hanger.
Press the hook-and-loop pad firmly into place. Attach and remove the mount a few times to work in the pad, then give the mount a slight twist after installation so it locks in securely.
5. Attach the hub device
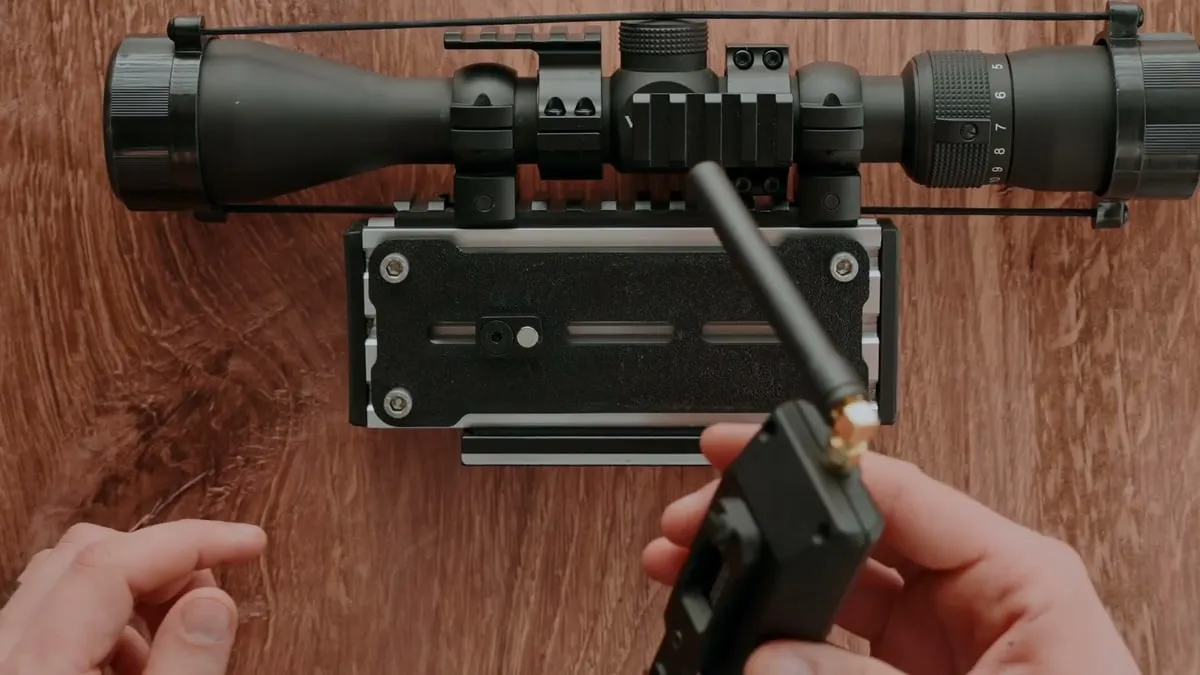
Section titled “5. Attach the hub device”Mount the hub key to your rifle with the M-LOK system. Install the key with the screw forward of the magnet so the hub sits in the intended orientation.
Slide the hub onto the key to power it on. Position the hub so the side lights are visible from behind the scope, then confirm the hub is seated and does not shift under normal handling.
6. Connect ShotCaller devices
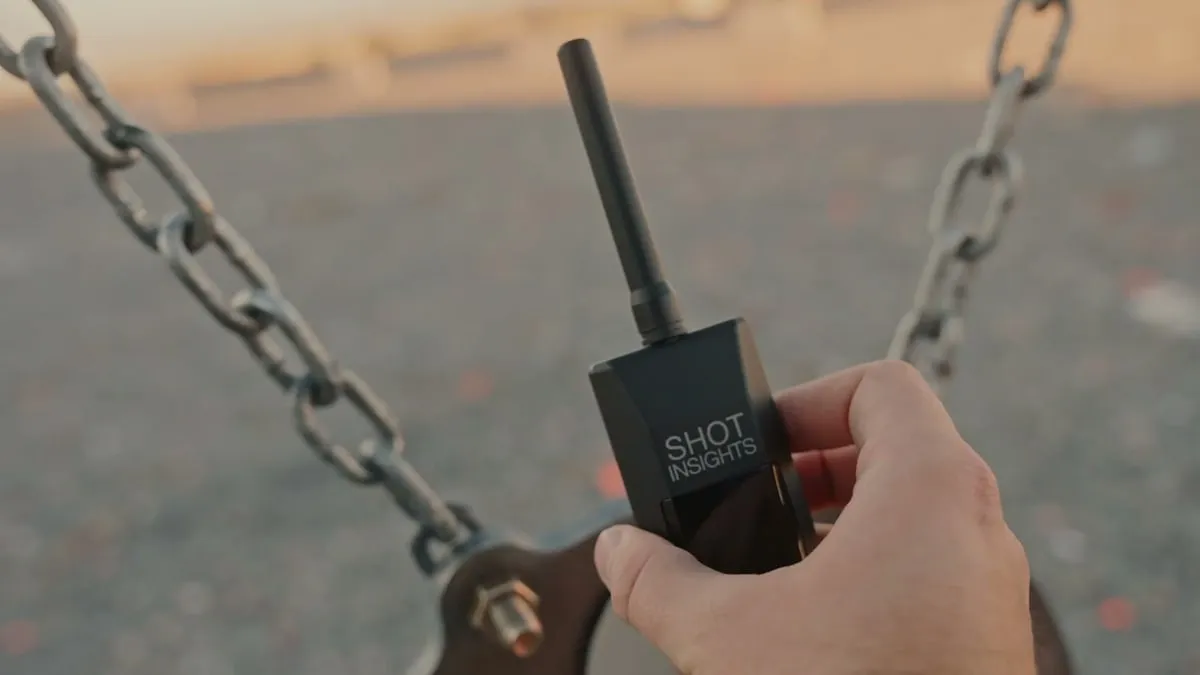
Section titled “6. Connect ShotCaller devices”Slide the target device onto the mounted target base. It should power on and start looking for GPS, which is shown by a red status light.
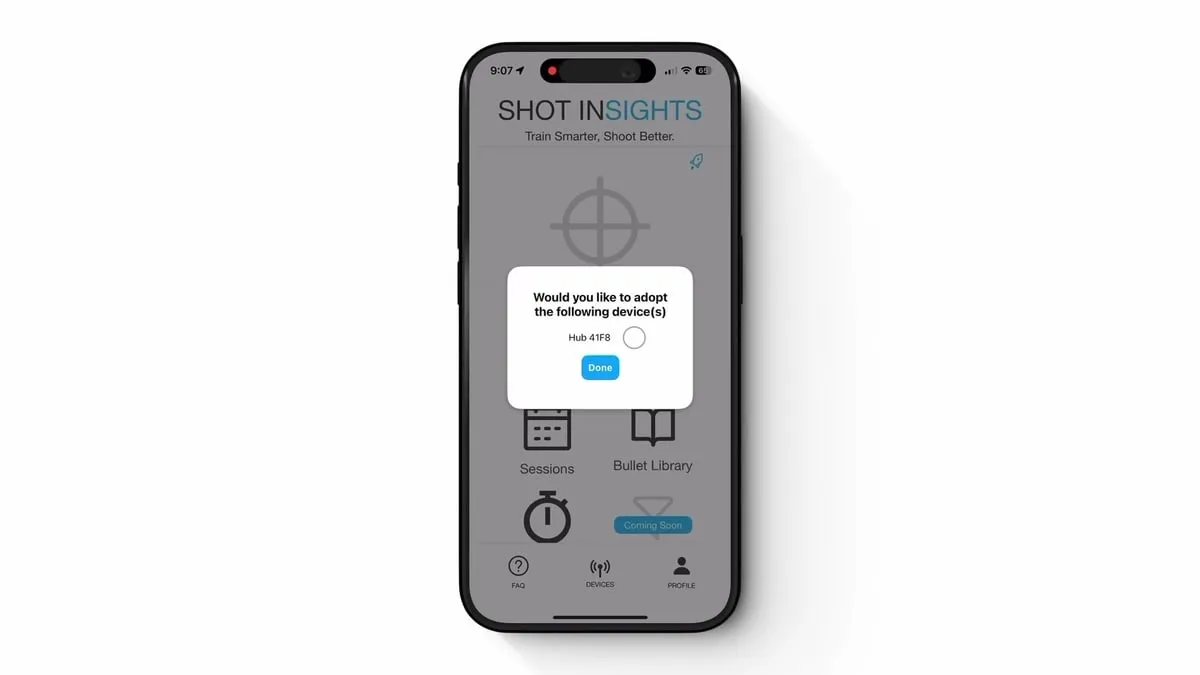
Open Shot Insights near the hub. The app connects to the hub automatically when the hub is available, and the first connection asks you to adopt the device. In the adoption prompt, select the hub, then tap Done.
Once the hub is connected and has a GPS fix, Range unlocks. As target devices get GPS, the app prompts you to adopt them too. Adopted targets appear on the map.
If the hub does not connect, confirm Bluetooth is on and Shot Insights has Bluetooth permission. If the Bluetooth icon on the home screen is black, tap it to rescan; the scanner turns off automatically to save battery.
Status-light cheat sheet
Section titled “Status-light cheat sheet”Use the LEDs before you troubleshoot in the app:
- Blue/cyan: hub is waiting for a Bluetooth connection.
- Red: device is getting a GPS fix.
- Green: device is ready.
- Purple: event or shot detected.
- White: device is updating.
- Charging red: charging.
- Charging green: full.
For the full table, see LED status lights.
7. Use Range
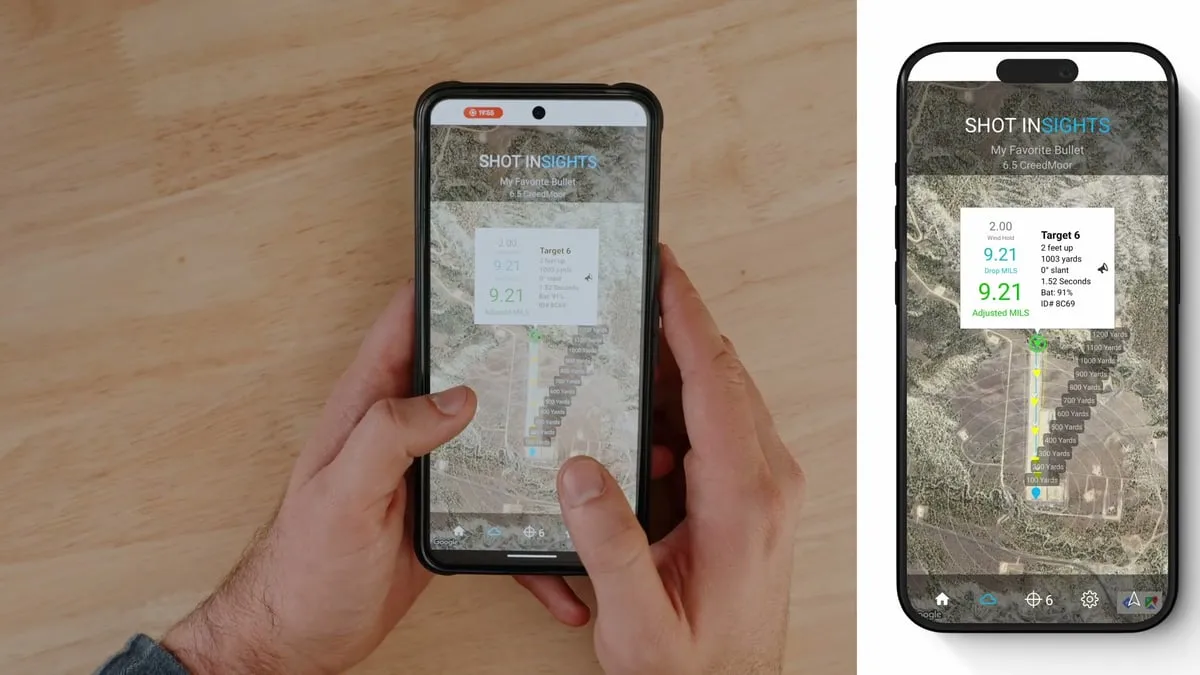
Section titled “7. Use Range”Open Range after the hub is connected and ready. Tap an adopted target on the map to check distance and hold data before you fire.
Do this final check from the firing line:
- the active ballistic profile matches the rifle and ammunition
- the hub is connected
- the target you plan to shoot is on the map
- the distance and hold data look right
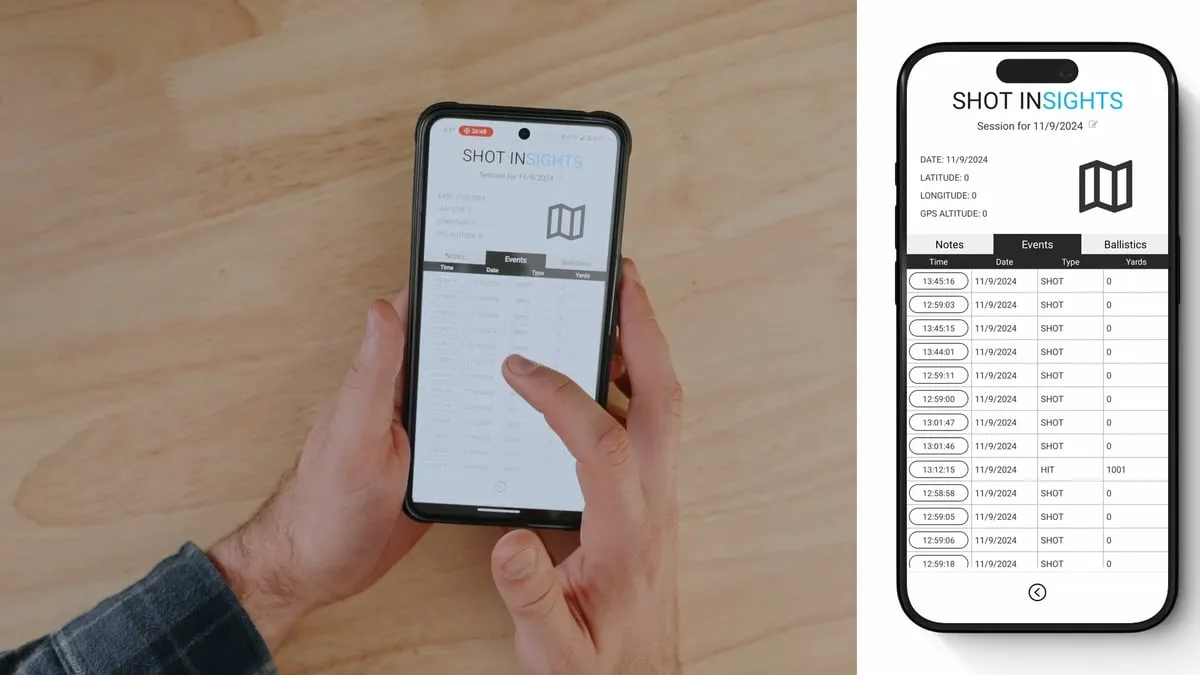
8. Review your session
Section titled “8. Review your session”After your first impacts are recorded, open the session details and confirm the data looks right:
- impacts are attached to the correct target
- distance is consistent with the setup
- the session is tied to the ballistic profile you selected
- the shot string is ready to save or review later
Field tips
Section titled “Field tips”- Check the LED status lights before you troubleshoot anything else.
- If a target is missing, move through Add and manage targets and Troubleshooting.
- For pairing details, use Pair the hub.
- For support, use Contact support.