

Create an Advanced Profile
An advanced profile gives you more control over how Shot Insights models your rifle and load. It is the best choice when you want to tune a profile closely to a known setup.
Worked walk-through
Section titled “Worked walk-through”Use this sample load: Hornady 6.5 Creedmoor 147gr ELD-M.
- Open Ballistics and start a new profile.
- Choose Advanced Profile.
- Name it 6.5 Creedmoor - 147gr ELD-M (Advanced).
- Enter a Diameter of 0.264 in.
- Enter a Bullet Weight of 147 gr.
- Enter a Bullet Length of 1.470 in.
- Leave the drag model on G7 and enter a Coefficient (BC) of 0.351.
- Enter a Muzzle Velocity of 2695 fps.
- Set Zero Range to 100 yd.
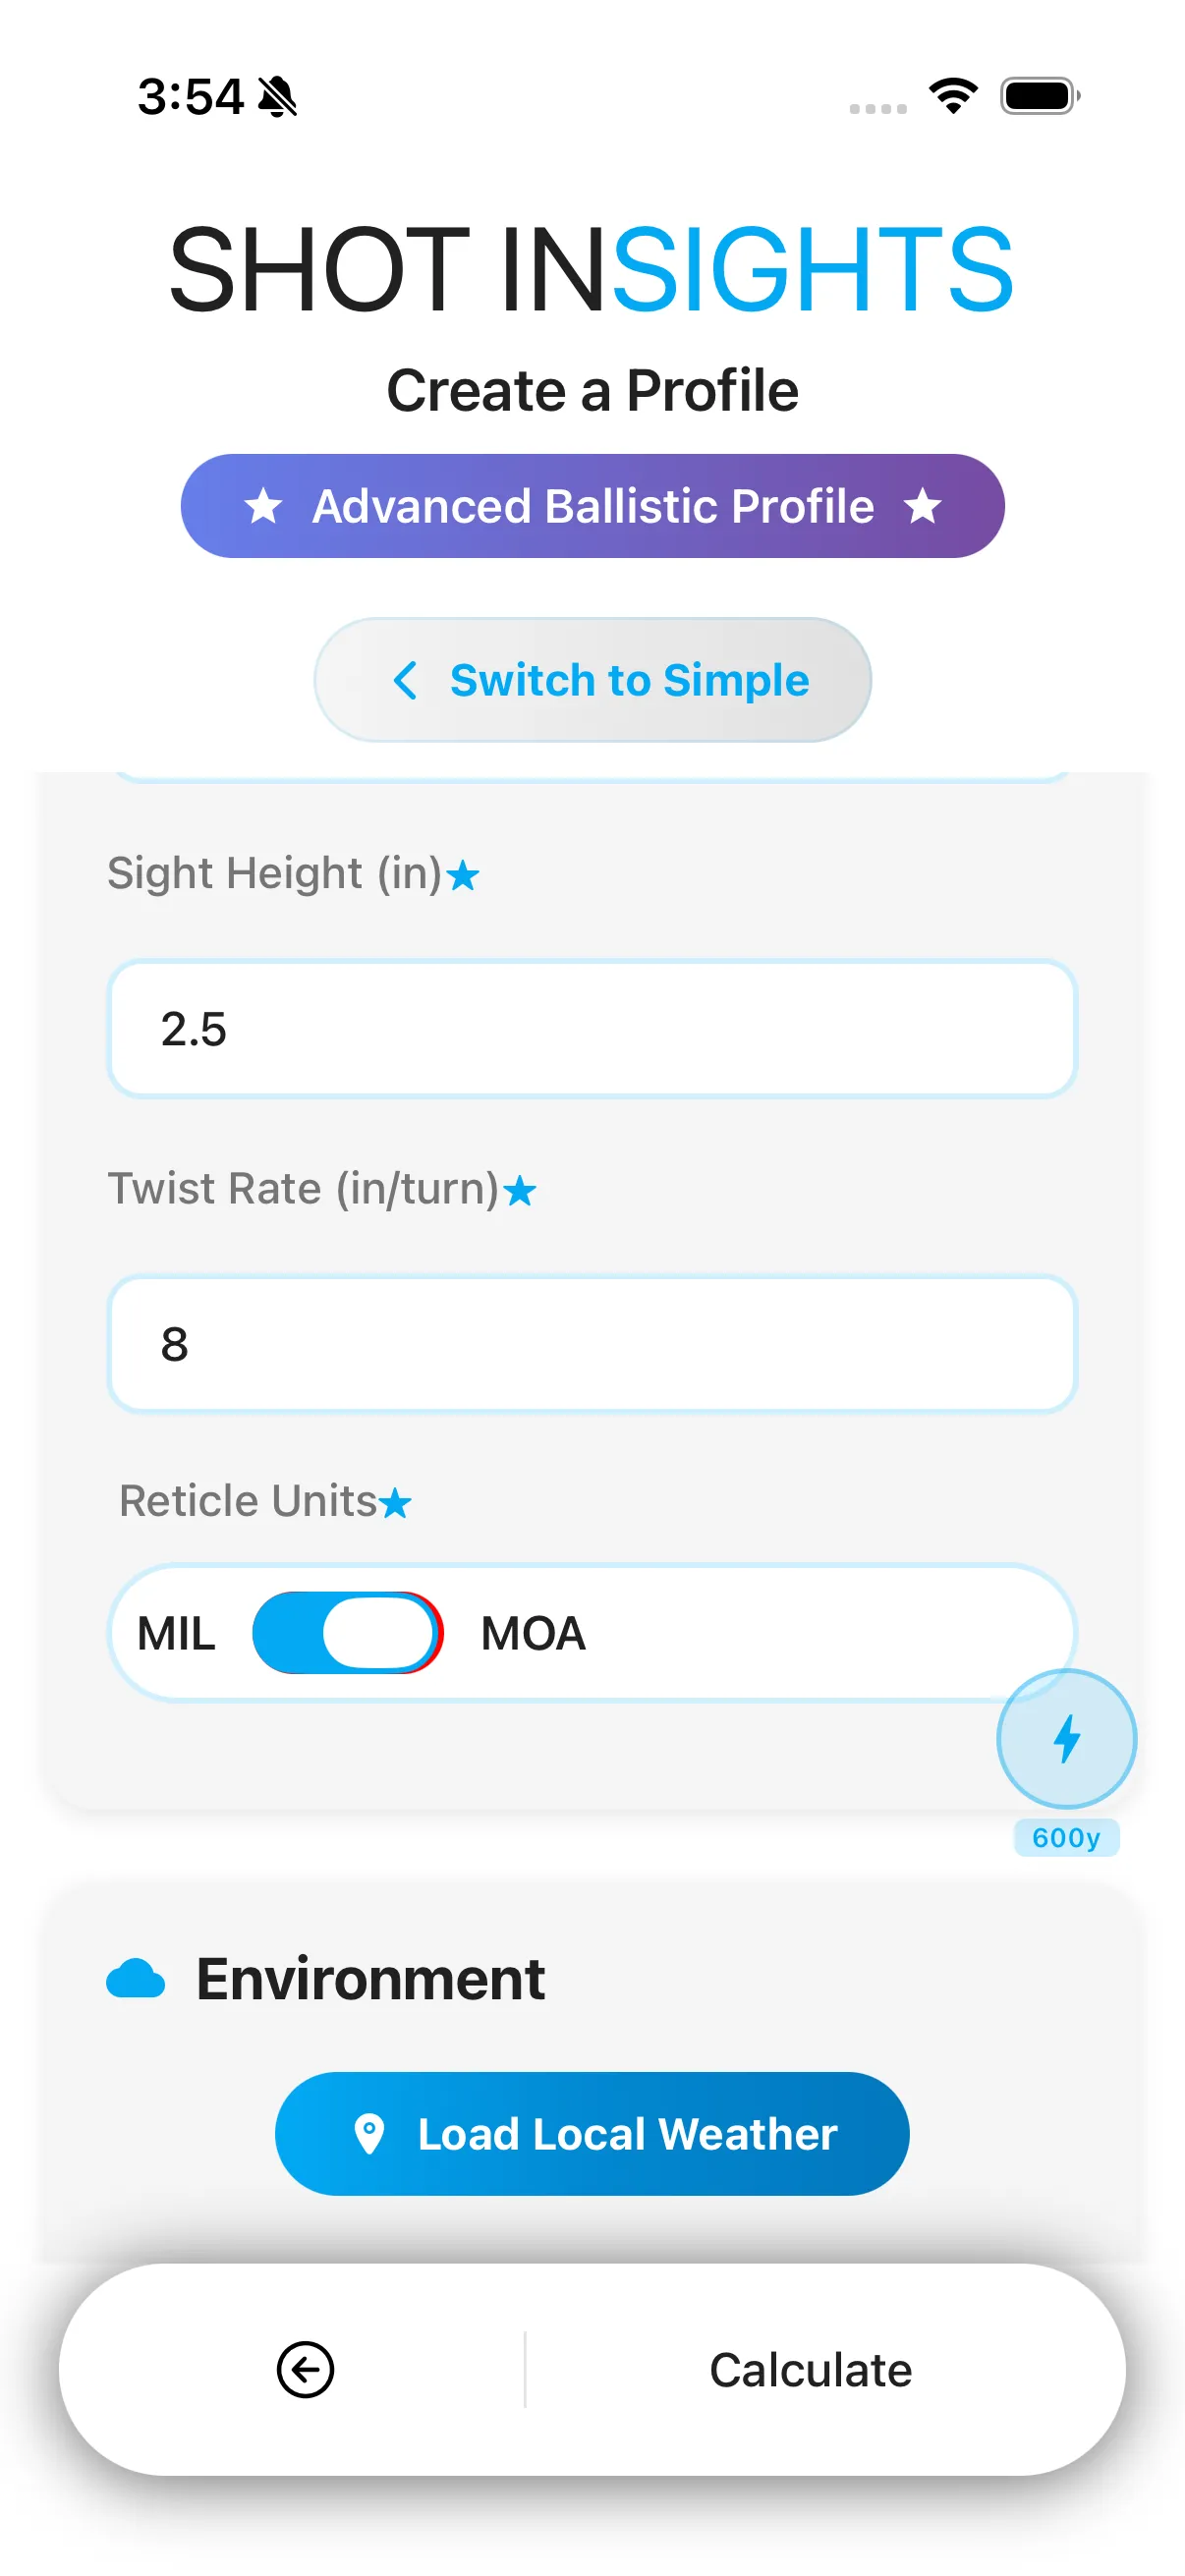
- Set Sight Height to 2.0 in.
- Enter a twist rate of 1:8.
- Choose the Reticle Units that match your scope.
- Save the profile and confirm the solution looks right before heading to the range.
Wind and other range conditions are not part of this form — those are set separately in the Range Conditions modal from QuickSight. See Environment and atmosphere for where to enter them.
Why choose advanced
Section titled “Why choose advanced”- You want more control over the profile inputs.
- You are matching a specific rifle and barrel setup.
- You plan to refine the profile later with Truing.
Good habits for advanced profiles
Section titled “Good habits for advanced profiles”- Start with known, measured values when you have them.
- Keep the drag model matched to the coefficient you are entering.
- Change one input at a time when refining the profile.
- Keep a simple naming pattern so you can compare similar profiles later.
If you only need a fast setup, Create from Bullet Library is the easier path.
Help improve these docs
With your permission, we use Google Analytics cookies to understand which guides are useful. Analytics is optional. You can change your choice in Analytics preferences at any time. Privacy policy